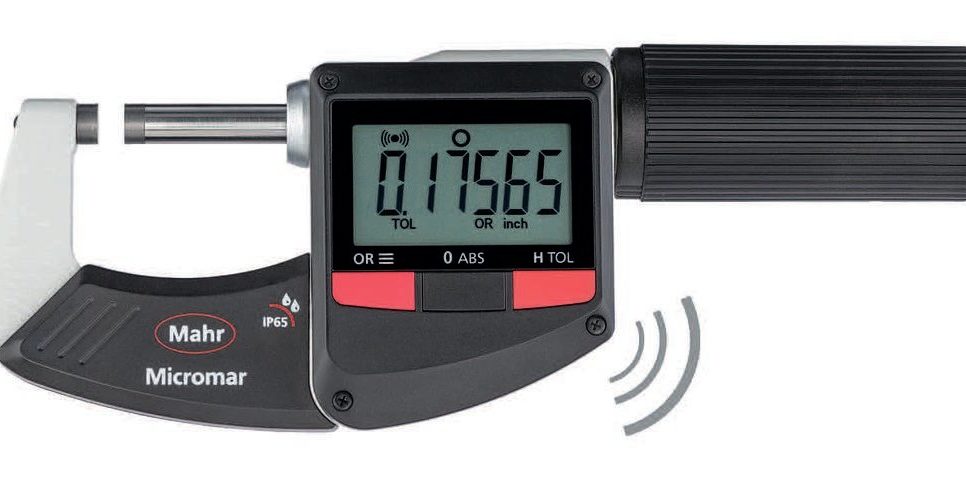
Mahr’s Micromar 40 EWRi-L Digital Micrometer offers integrated wireless data transmission in addition to a quick drive spindle, where one turn of the thimble is now equal to 5 mm (0.2 in) of spindle travel. Moving to different sizes on a sample part is now 10-times faster than with a standard micrometer.
Product features include:
- High contrast digit display
- Stainless spindle is hardened throughout and ground
- Spindle and anvil are carbide-tipped
- QUICK DRIVE
- Sliding spindle
- Ratchet is integrated in the thimble
- Lacquered steel frame, heat insulated
Standardize the Measuring Process
How many times have you heard an assembly operation complain that incoming parts are consistently out of spec? How many times have you heard the parts people trash assembly folks for not knowing how to use their measurement tools? They were shipped good parts and now they measure bad. What’s going on here? Where is the problem?
During the manufacturing cycle for a part or product, many people will look at the part to determine whether it meets the specification. Typically, these could include the machinist producing the part, a QC person, an incoming inspector at the company using the part, and finally another inspector who may be responsible for evaluating the manufactured part’s performance within an assembly.
With this many inspection processes, it’s very unlikely that they will all be similar, let alone use the same gaging equipment. Even if skilled craftsmen at each inspection point follow their particular measurement processes to the letter, there will, at times, be unsettling disparities in measurement results.
To read the remainder of this article, CLICK HERE.


