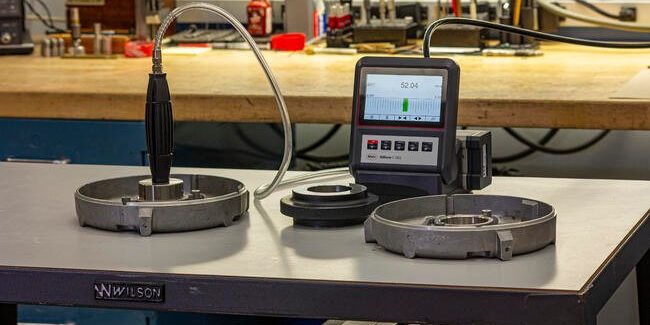
Checking for Centralization and Balance Errors
Air gaging is often referred to as a non-contact form of measurement. This is accurate, to the extent that there’s no metal-to-metal contact between a sensitive gage component and the workpiece. Nevertheless, air gage tooling—including air plugs for inside diameter measurements—does generally come in contact with the workpiece, and may show wear after several thousand measurements or years of use. (The comments here are equally applicable to electronic plug gages.)
When, due to wear, the clearance between the gage and the workpiece exceeds the design clearance, centralization error results. The air jets then measure a chord rather than the true diameter of the part. As the distance between the chord and the bore centerline increases, we begin to see measurement inaccuracy. Another form of error occurs when the jet centerline is not on the plug centerline. In this case, the plug will always measure a chord of the part.
To read the remainder of this article, CLICK HERE.
Air Gaging from Mahr Inc.
Air Gaging is the inspection tool that allows you to measure many jobs faster, more conveniently and more accurately than other gaging methods. In the measurement of all hole conditions, air gaging is unsurpassed for speed and accuracy. In checking any dimensional characteristic, air offers sufficient magnification and reliability to measure tolerances well beyond the scope of mechanical gages.


