These would include calipers, micrometers, mechanical snap gages, air snaps, CMMs, and special fixture gages, just to mention a few.
The problem with all these methods is that while each is good in its own right, there may be a bias seen among them. Each method has some slight variations that can cause differences in result. It may be different gaging force, different process methods (such as the difference between contact and air gaging), or different measuring techniques such as a CMM doing average diameters as opposed to a caliper using two-point measurements.
So with all these techniques and potential pitfalls, how do you account for multiple measurements to be made by different personnel, in either the same or different locations, and then agree upon the results? The bottom line is, you don’t. The only correct way to do this is to determine an agreed upon method for making the measurement and ensure that each location follows the same process.
The good news is, these methods have already been fairly well defined in documents we’re all aware of, called Standards. One of these Standards is ASME B46.1-2019 for Surface Texture (Surface Roughness, Waviness, and Lay). When there is a disagreement regarding the interpretation of texture measurements, this standard provides common ground for making the measurement. This includes defining the type of instrument and the parameters it is set to. With these defined, all users are at a common starting point to eventually agree on a result. Let’s walk through the process and see how this works out:
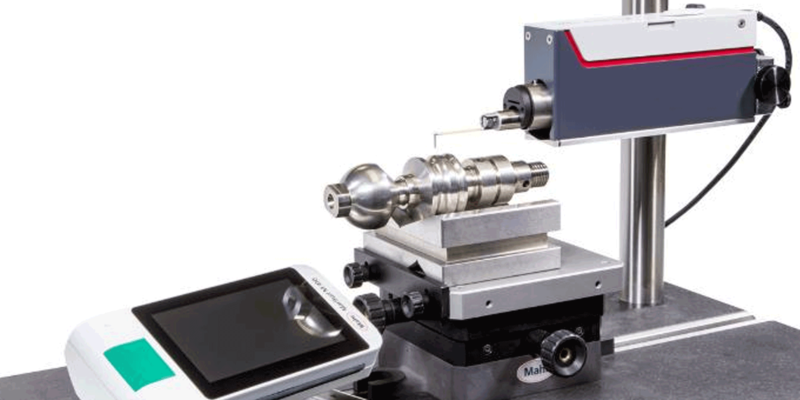
The first recommendation of the ASME Standard is for the type of instrument to be used. The choice in this case—as seen in Section 2.3, Classification Schemes—is a Type I Skidless Contact profiling instrument. This is the most common analytical tool for surface measurement that includes the ability to:
- Measure smooth and rough surfaces
- Measure roughness and waviness compared to an outside surface
- Utilize a selection of filters and parameters for data analysis
Once the particular instrument is chosen, the next step is to agree on the same measurement characteristics. Section 9 of the Standard specifies that the instrument must have Gaussian (50%) filtering. These are specified because they tend to separate roughness and waviness more effectively than the 2RC filters often found on older systems. Also, the recommended bandwidth, stylus tip and radius, and sampling interval are to be determined using Table 9-4.3.2 in Section 9 based on the desired roughness cutoff (λc).
Finally, the last setting to select is the stylus force. This can be found in Section 3, paragraph 3-3.5.2 and is based on the desired radius tip. The stylus force chosen is sufficient to maintain top-surface contact but not so large that the stylus will cause damage to the surface. The maximum recommended values are always determined by the stylus radius.
These are all fairly common settings selected for the skidless measuring system. Those familiar with these systems are no doubt proficient with making this setup and would be satisfied with choosing this common format. So, for most common measurements, all parties are apt to be in agreement.
However, there may be some unusual measuring conditions which require further definitions. These may occur, for example, if the surface structure being assessed requires a short wavelength cutoff smaller than the 2.5µm specified in Section 9.4. In this case, Section 7 in the Specification deals with measuring Nano Surface Texture and Step Height measurements with Skidless Profiling Systems. It talks about the measurement of very small (nanometer) sized features on surfaces that may have irregular roughness and waviness features or a depth measurement such as a groove. Following the recommendations in this section will reduce the uncertainty of the measurement of very small features and will improve the comparison results from different laboratories.
Finally, there are some particular cases where the above recommendations may not apply. These usually involve soft surfaces where significant damage can occur to the surface using a contact stylus system. In these cases, the parties involved have to devise and jointly agree on a measuring process and its characteristics.
In the end it’s always satisfying to have various measurements made in various locations arrive at nearly the same results. The only effective way of doing this is to agree on a standard measuring technique and adhering to it.


