The History of Gauge Blocks

The beginning The concept of a set of gauge blocks that can be used to assemble a gauge to accurately represent almost any practical length from a small number of pieces was invented by Carl Edvard Johansson (Figure 1), a Swedish machinist, in 1896 and therefore has more than a century of history. Figure 2…

Choosing the Right Air Gage

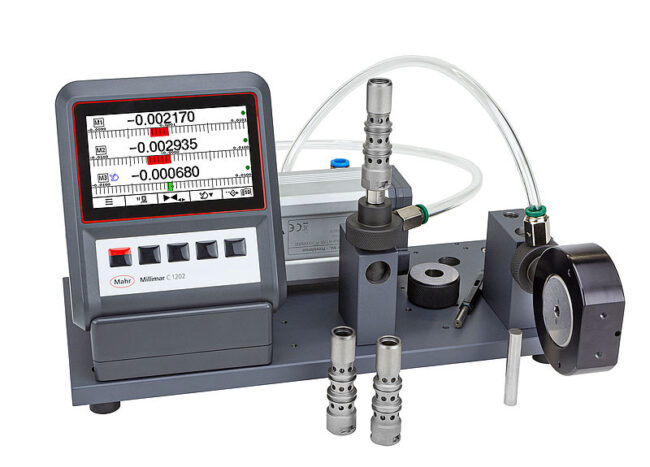
Air gaging has many advantages as an inspection method. It is quick and easy to use, requiring little skill on the part of the operator. It is highly adaptable to measuring special features for both dimensional and geometric tolerances, ranging from simple IDs and ODs to taper, flatness, and runout.  With different tooling readily installed…

Surface Plate a Gage

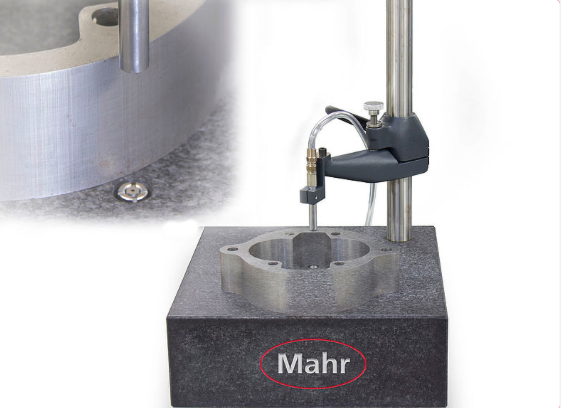
Making a Surface Plate a Gage

Surface plates provide a large flat reference surface that can be extremely useful for inspecting incoming, in-process, or finished parts. The surface plate is oftentimes referred to as the foundation of measurement since it provides the reference for much of the layout work done in an inspection cell. When used in combination with various gages…

Electronic comparators with inductive measuring system and touch operation

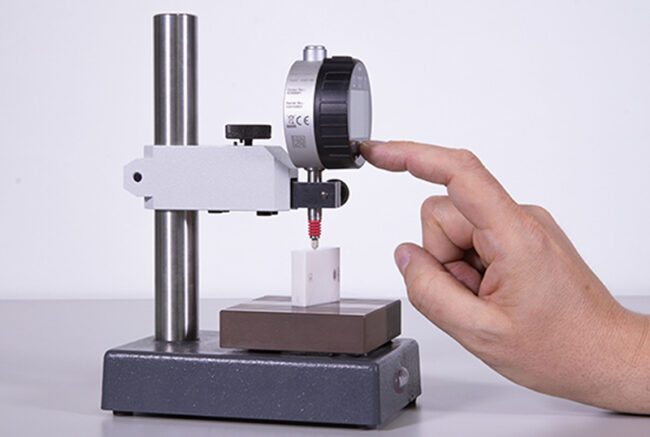
The new generation of electronic comparators The new Millimess 2000 W(i) and 2001 W(i) series of electronic comparators set new standards in metrology – thanks to unique and innovative features. Touch operating keys: Reliable operation in the measuring system Fully hardened glass display: Robust and completely insensitive Linearized inductive probe measuring system: Integrated measuring system…

Comparative Gages and Temperature Compensation

The use of electronic temperature compensation in gaging has become a valuable tool in improving the accuracy and GR&Rs of gages in harsh manufacturing environments. The need for temperature compensation comes into play when the expected errors from temperature variation caused by the environment can use up more than 10% of the part tolerance. Where…