Air is Free, but not Care-Free
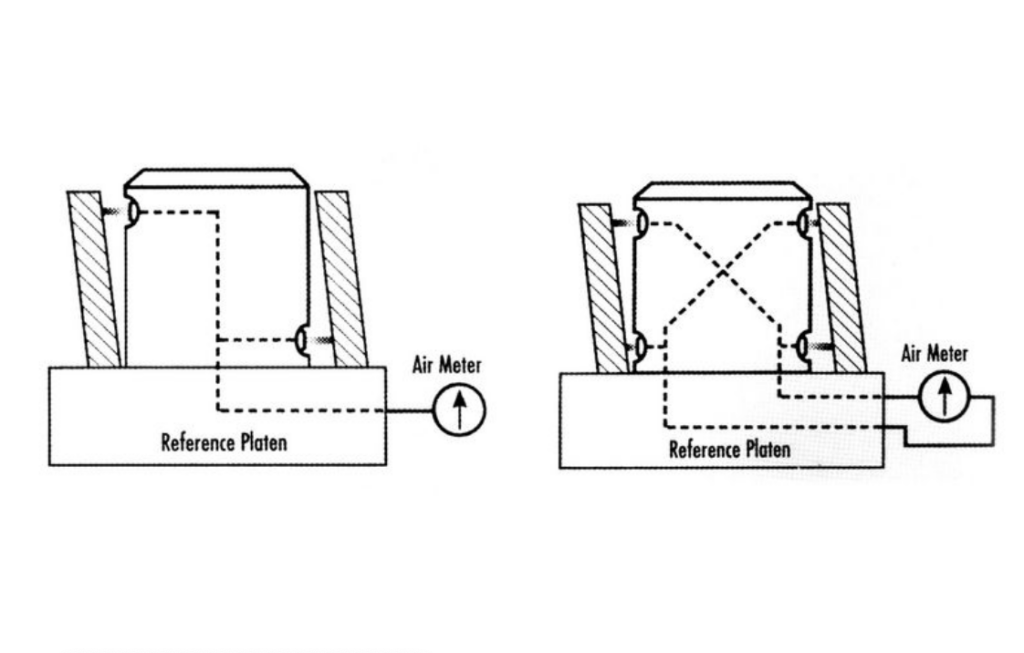
Air gaging represents the method of choice for most high-resolution measurements on large production runs. While quite durable and reliable compared to mechanical gages, air gaging is not care-free. Accurate air gaging requires proper maintenance of the tooling, and vigilance over the air supply. Although the factory air supply may not be under the gage…
Building Temperature Compensation into the Gaging Station
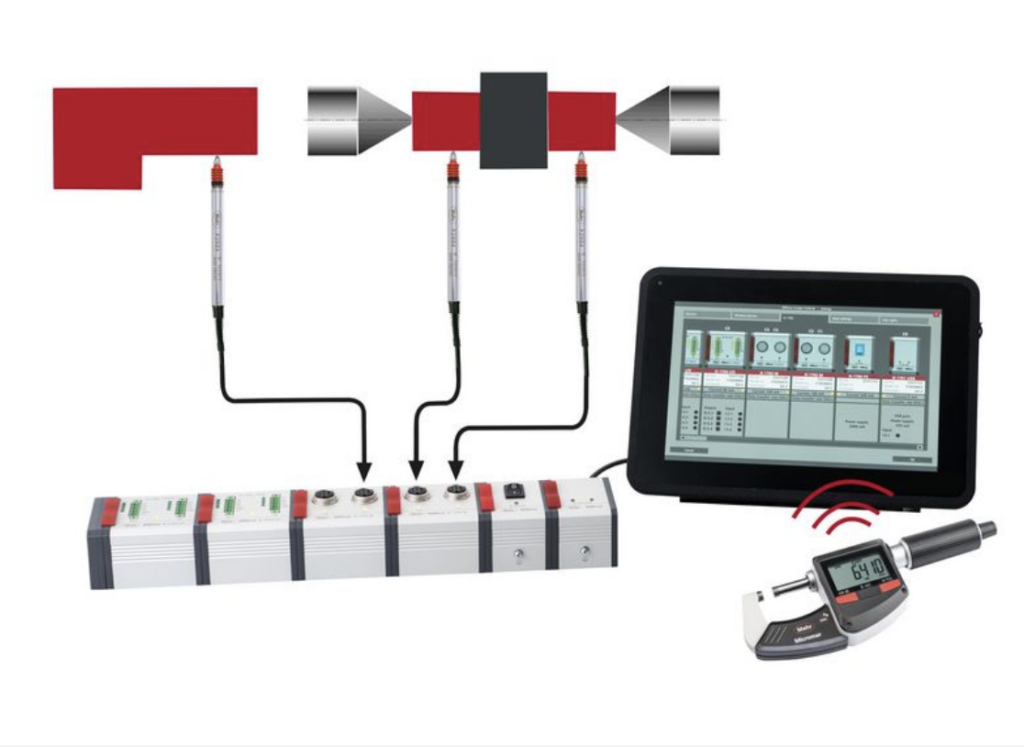
Temperature fluctuations are one of the most common causes of measurement errors on parts with tight tolerances. As production tolerances become ever tighter and the error margin for measurement results constantly shrinks, this is an important issue that users may need to consider in their inspection process. The background to this is a natural physical…
Tired of Inconsistent Operator Readings?
END THE YEAR WITH A KINGSCAN V IN HAND: INSTANT IMPRESSIONS READS INDENTS TO .001 MM FITS IN YOUR HAND WEIGHS UNDER 3 LBS ASTM E10 TYPE A REPEATABLE RESULTS NO CORD NEEDED START SAVING TIME WITH CONSISTENT, AND ACCURATE RESULTS. WATCH THE KINGSCAN IN ACTION
The Critical Role of UV Lamps in Magnetic Particle Inspection
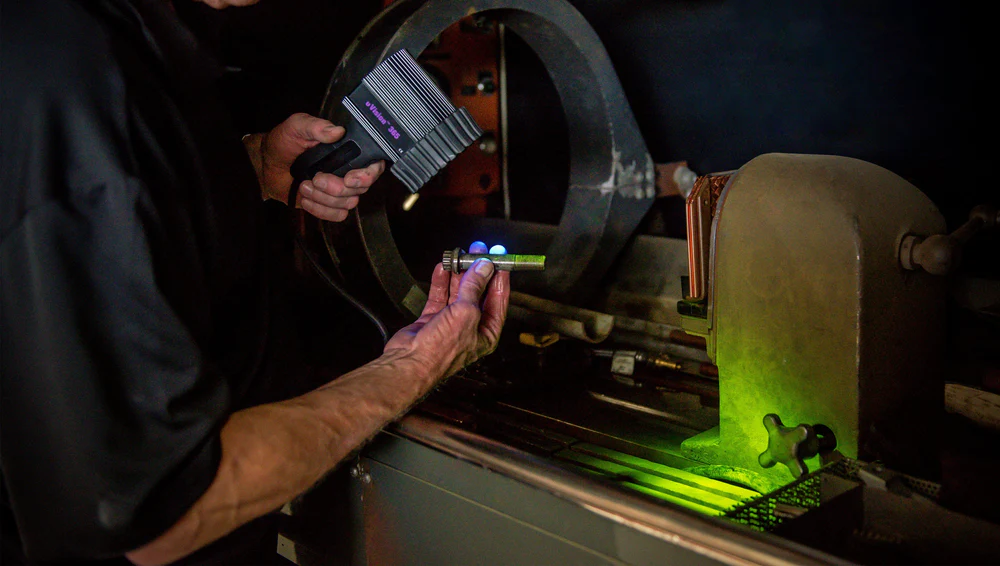
Photo courtesy of Spectra UV In industries where safety is paramount (aerospace, oil and gas, automotive manufacturing) invisible cracks in metal components can lead to catastrophic failures. A tiny fracture in an aircraft landing gear or a hairline crack in a pipeline might be impossible to see with the naked eye yet could result in…
Building a Calibration Procedure for Calipers
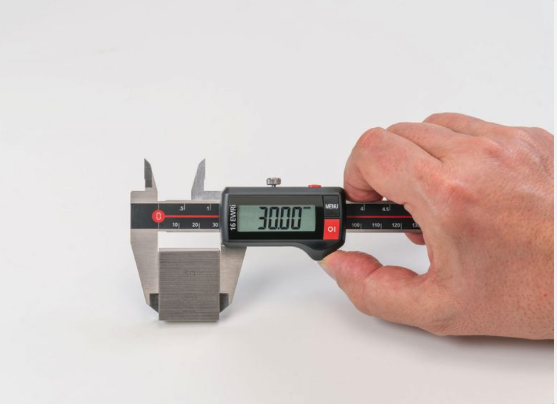
Digital calipers are one of the most common hand tools used on the shop floor. In a manufacturing plant, under a quality control system, these tools need to be checked and calibrated on a regular basis. We have discussed in past articles the pros and cons of doing gage calibrations internally or by an external…
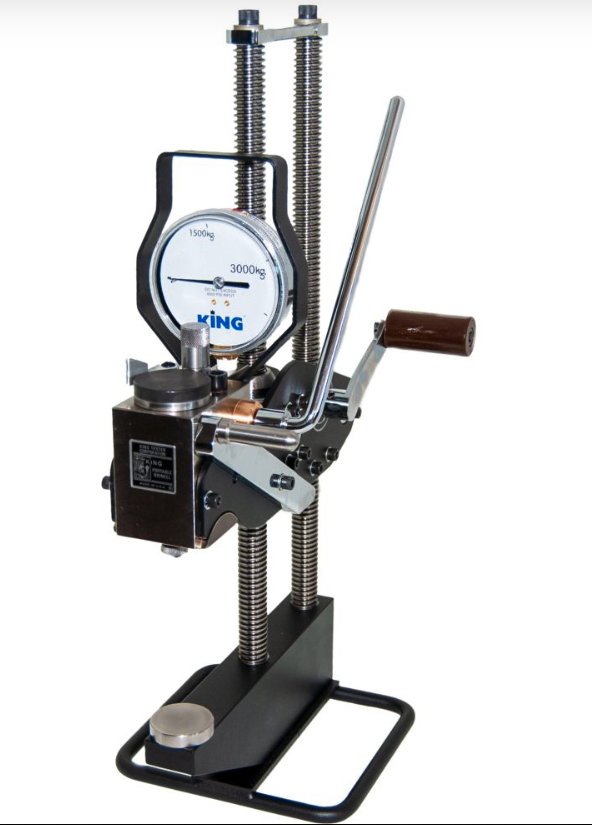
Brinell Testing: Reliable Hardness and Strength Verification for Critical Metals
As supply chains shift and materials come from a wider range of sources, verifying the quality of incoming metals is more critical than ever. At King, we rely on Brinell hardness testing as a trusted, proven method for quickly assessing both material hardness and estimating tensile strength—giving you confidence before production begins. Brinell testing for…
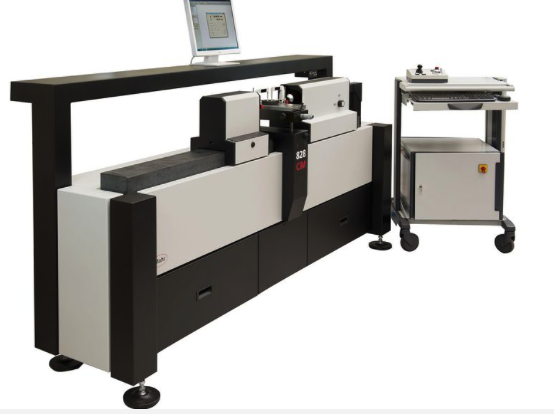
Gaging and Mastering Uncertainty
When measuring parts to tolerances of a thousandth of an inch, we can usually be certain that our measurements are accurate to within a “tenth,” if we follow standard gaging practice: i.e., master the gage frequently, maintain the gage in good working order, keep things clean, have the master recalibrated periodically, etc. But certainty becomes…
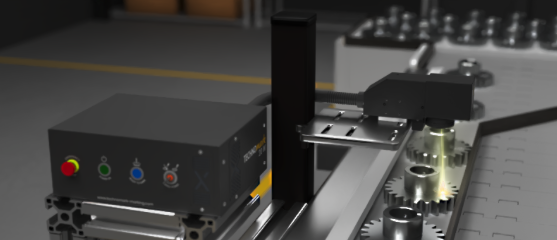
Why Fiber Lasers Are Outpacing CO₂ Lasers in Industrial Marking
From the first spark to the final stamp, fiber lasers bring unmatched clarity, speed, and staying power, setting a new standard for marking in metal and mass production. In sectors where production speed and stringent standards go hand in hand, marking systems need to excel in reliability, longevity, and clarity. Our latest blog uncovers the edge…
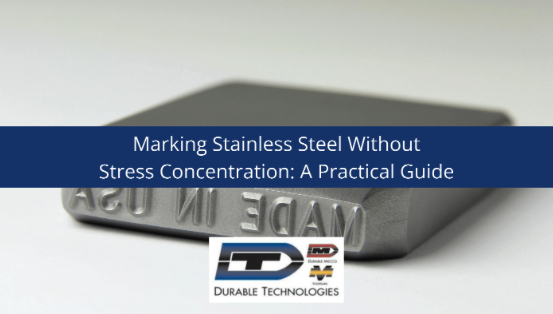
Marking Stainless Steel Without Stress Concentration
Stainless steel fights back when you try to mark it. The material’s work-hardening characteristics and high strength create challenges that don’t exist with mild steel or aluminum. Push too hard with the wrong technique, and you’ll create stress risers that can lead to premature failure in critical applications. The solution isn’t to avoid marking stainless…
10 Reasons Why Height Gaging is Crucial to Your Manufacturing Process
When it comes to manufacturing, there are many tools and techniques that can help improve efficiency, accuracy, and quality control. One of the most important of these tools is the height gage, such as the Trimos V-Series or Sylvac Hi_Cal. In this blog post, we will explore 10 reasons why height gaging is crucial to…

