Gaging For SPC: Now Even Simpler

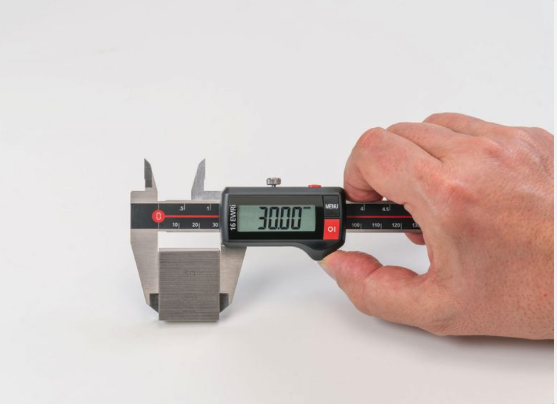
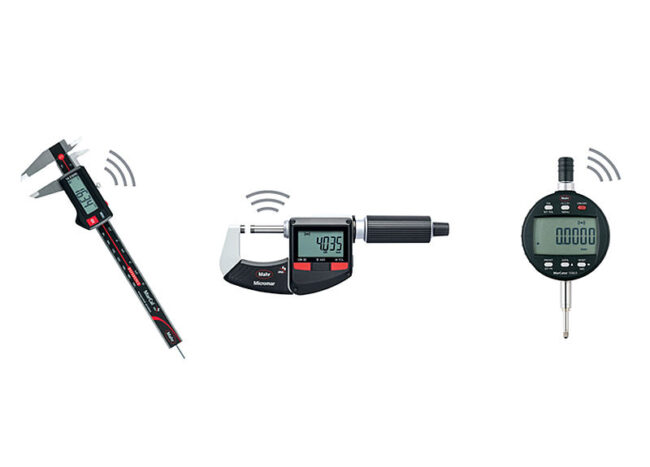
After all that has been written about Statistical Process Control (SPC) over the years, I am continually surprised at how often shop owners tell me they would like to do Data Collection for SPC, but they’re “just too small,” or they “can’t afford all that fancy equipment.” There seems to be a mistaken perception out…

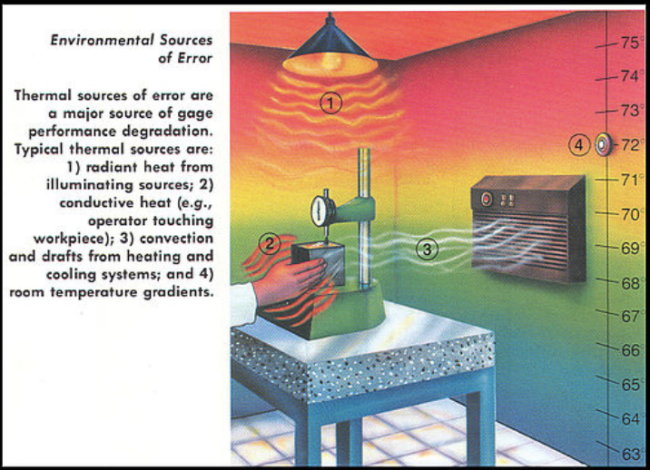
Nine Enemies of Precision Gaging

In some plants, metal parts are made accurate to 0.01 inch. In other plants, there are products that cannot tolerate size differences of even a few millionths of an inch. Making parts to either tolerance range is impossible without accurate gaging. However, accurate gaging is impossible if liberties are taken with the design, handling, and…

Dial Versus Digital Indicators, 40 Years Later

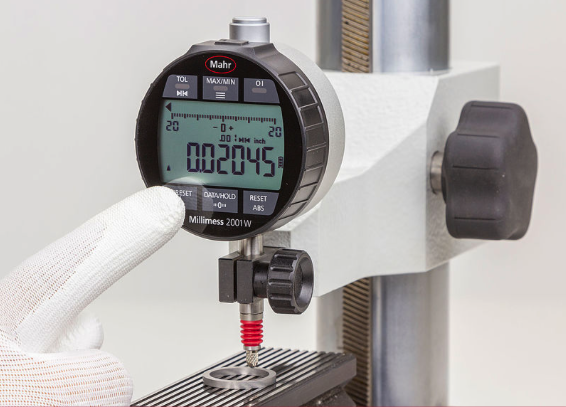
When digital electronic indicators were first introduced in the early 1980s, observers expected them to blow mechanical dial indicators out of the water. But despite the clear superiority of electronic indicators in terms of higher resolutions, better accuracy, and usefulness in statistical process control and data collection systems, mechanical indicators retained other advantages and continued…

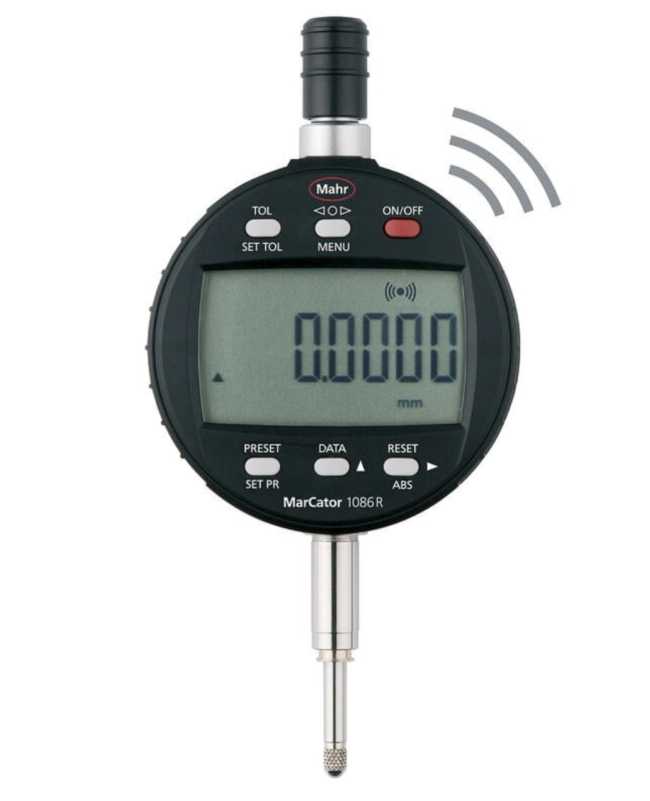
MarCator 1086 Ri Digital Indicator

A clear digital display, robust construction and high Mahr accuracy characterize our digital dial gages. The range includes measuring instruments for all applications. Various interfaces for data transfer and a high protection rating up to IP 54 leave no demands unfulfilled. For more information about the MarCator 1086 Ri Digital Indicator, CLICK HERE. Giving Your…

Calibrating Gages: Your Place or Mine?

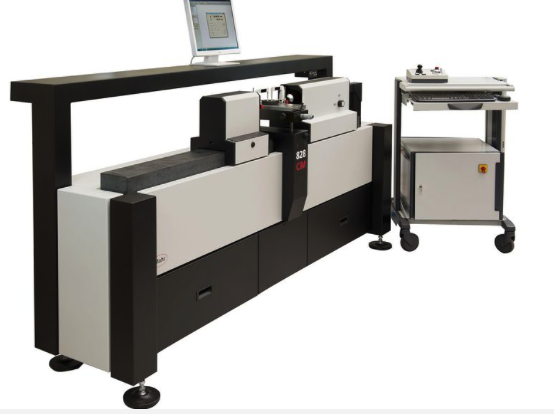
All gaging equipment must be calibrated periodically to ensure that it’s capable of performing the job for which it’s intended: i.e., measuring parts accurately. This has always been necessary for the purpose of maintaining quality, but there are now additional, external reasons to establish and maintain a regular program of gage calibration: customers’ requirements. More…

Measuring Small Bores

Over the years we have looked at using air gaging and back pressure to measure small bores, generally under 1 mm/0.040”. Air gaging can be an acceptable way of doing this, but it does not provide any form information; it only provides the flow area as related to the diameter. However, because these holes are…