Description
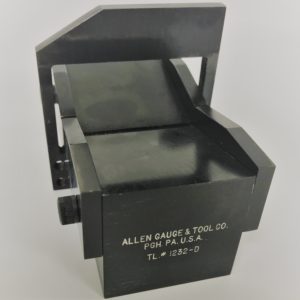
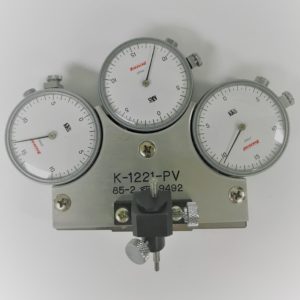
TJAG “Wickander” Tool Joint Alignment Gauge For 2-3/8″ to 6-5/8″ Diameter Tool Joint Connections
As required by API Spec 5DP, 2nd Edition.
Tool Joint to Drill Pipe Alignment has always been an important factor to drill pipe users.
Poor angular alignment causes rapid eccentric wear of the tool joint outside diameter and increases the stress at the upset to pipe body transition.
The TJAG measures the tool joint to drill pipe alignment.
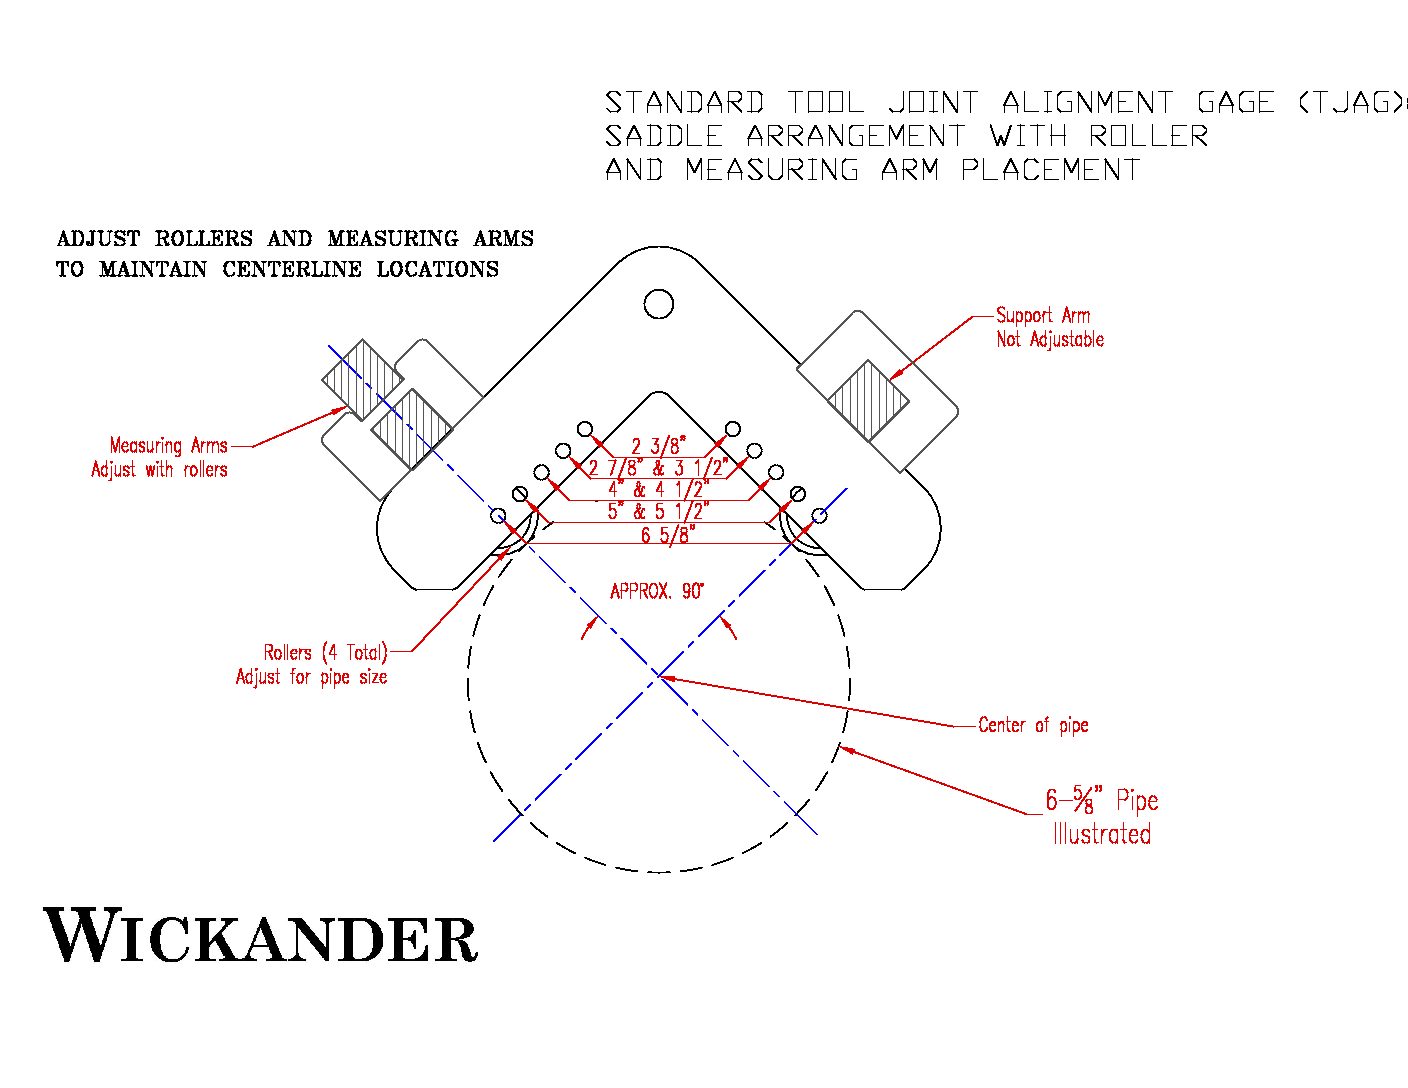
This is accomplished by the use of at least 2 positions on the pipe side and 2 positions on the tool joint side to define the centerlines, each measurement is a TIR (TIM) dimension.
API Specification 5DP – 2nd Edition
6.2.8 Tool-joint Alignment
The maximum misalignment between the longitudinal axis of the drill-pipe body and the longitudinal axis of the welded-on tool joint shall not exceed the following:
¾ for parallel misalignment: 4 mm (0.157 in) total indicator reading (TIR);
¾ for angular misalignment: 8 mm/m (0.008 in/in) TIR for label 1: 4-1/2 and larger;
10 mm/m (0.010 in/in) TIR for smaller than label 1: 4-1/2.
The axis of the tool joint shall be determined by two locations on the surface of the outside diameter, d. that is unaffected by markings or hard banding,
The axis of the drill-pipe body shall be determined over a minimum length of 400 mm (15 in) on the outside surface of the pipe body.
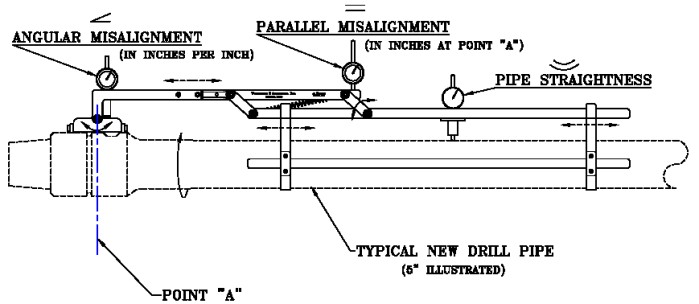
Utilizing a rigid parallelogram, with ball bearing pivots at each corner, and a dial indicator between the horizontal arms,
to measure the parallel movement between the tool joint outside diameter and the pipe body outside diameter. Defining the parallel misalignment with a direct reading in inches.
Each long parallel arm of this parallelogram is in contact with a different component’s outside diameter.
The arm in contact with the drill pipe is a typical saddle configuration with two ball bearings for each saddle, establishing the centerline of the pipe.
The other arm incorporates a pivoted linear wobble plate, with a ball bearing pivot point, to follow the angular movement of the tool joint outside diameter.
This angular movement is measured, with a dial indicator located one inch from the pivot point, and provides a direct reading of the angular misalignment in inches per inch.
The TJAG is designed to be a very flexible and durable measuring instrument.
Ask about SPC wireless data capture and automation applications.
Contact Houston Precision, Inc. at (713) 943-1155 for repair, replacement parts and calibration service of your TJAG gauge.

